
 I worked on some more military flat cars this afternoon. I used a some chains from a set of Alkem Scale Models Military Tie Down Chains to secure a HEMMT Fuel truck to a OTTX 60-ft flat car. The flat car is an Intermountain Company model. The HEMMT is Herpa model.
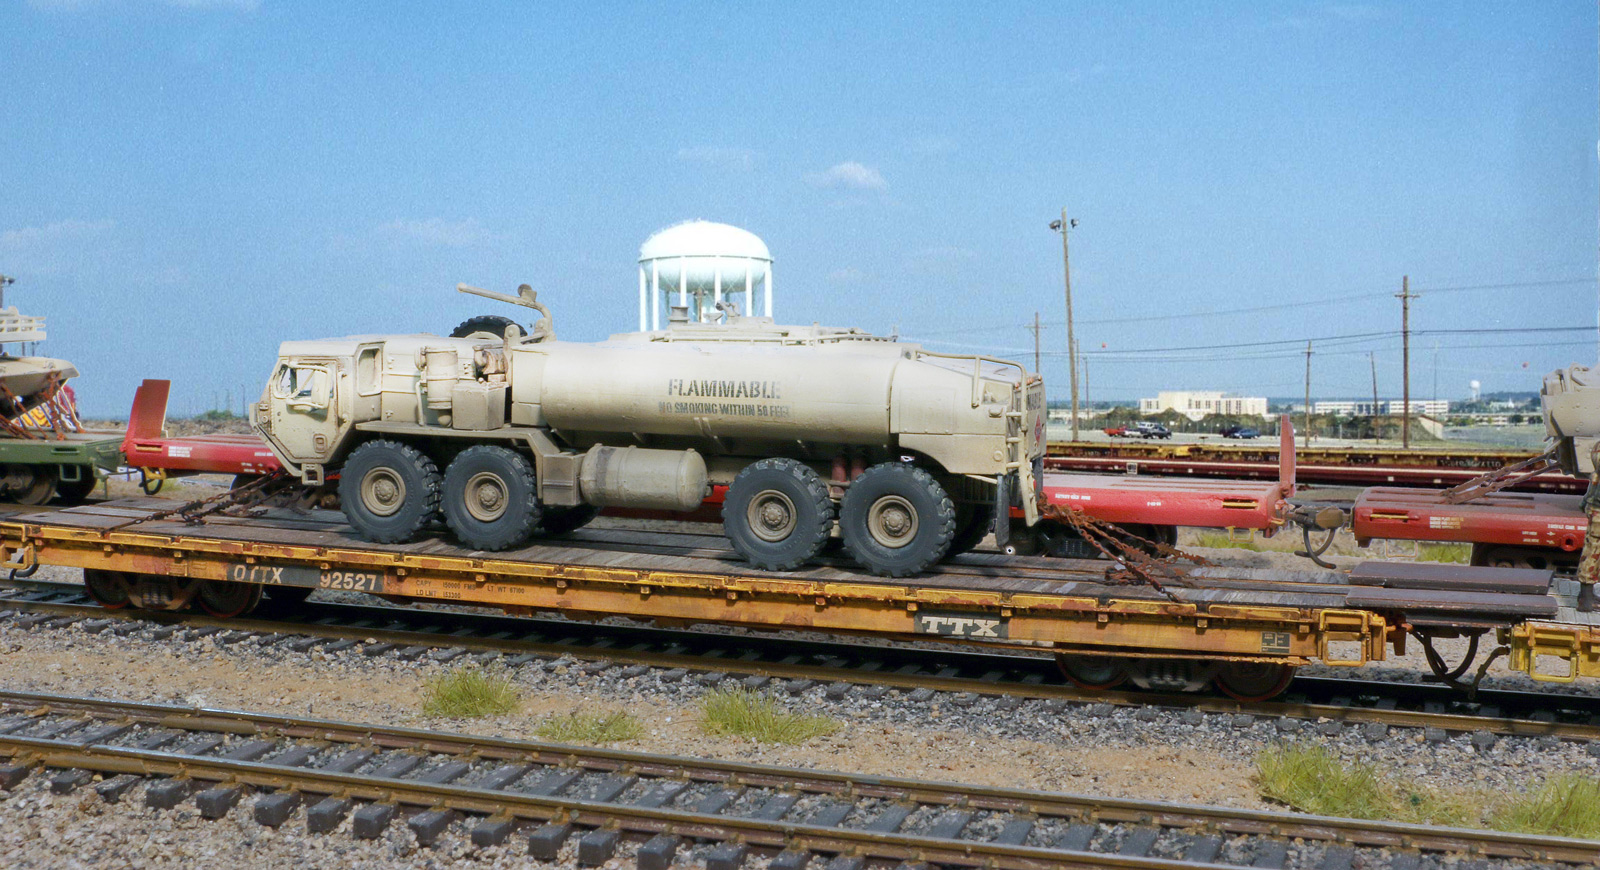 The back view shows how the chains are secured to a ring and then added to the tow pintle. The ring is included in the Alkem Scale Models Military Tie Down Chains set.
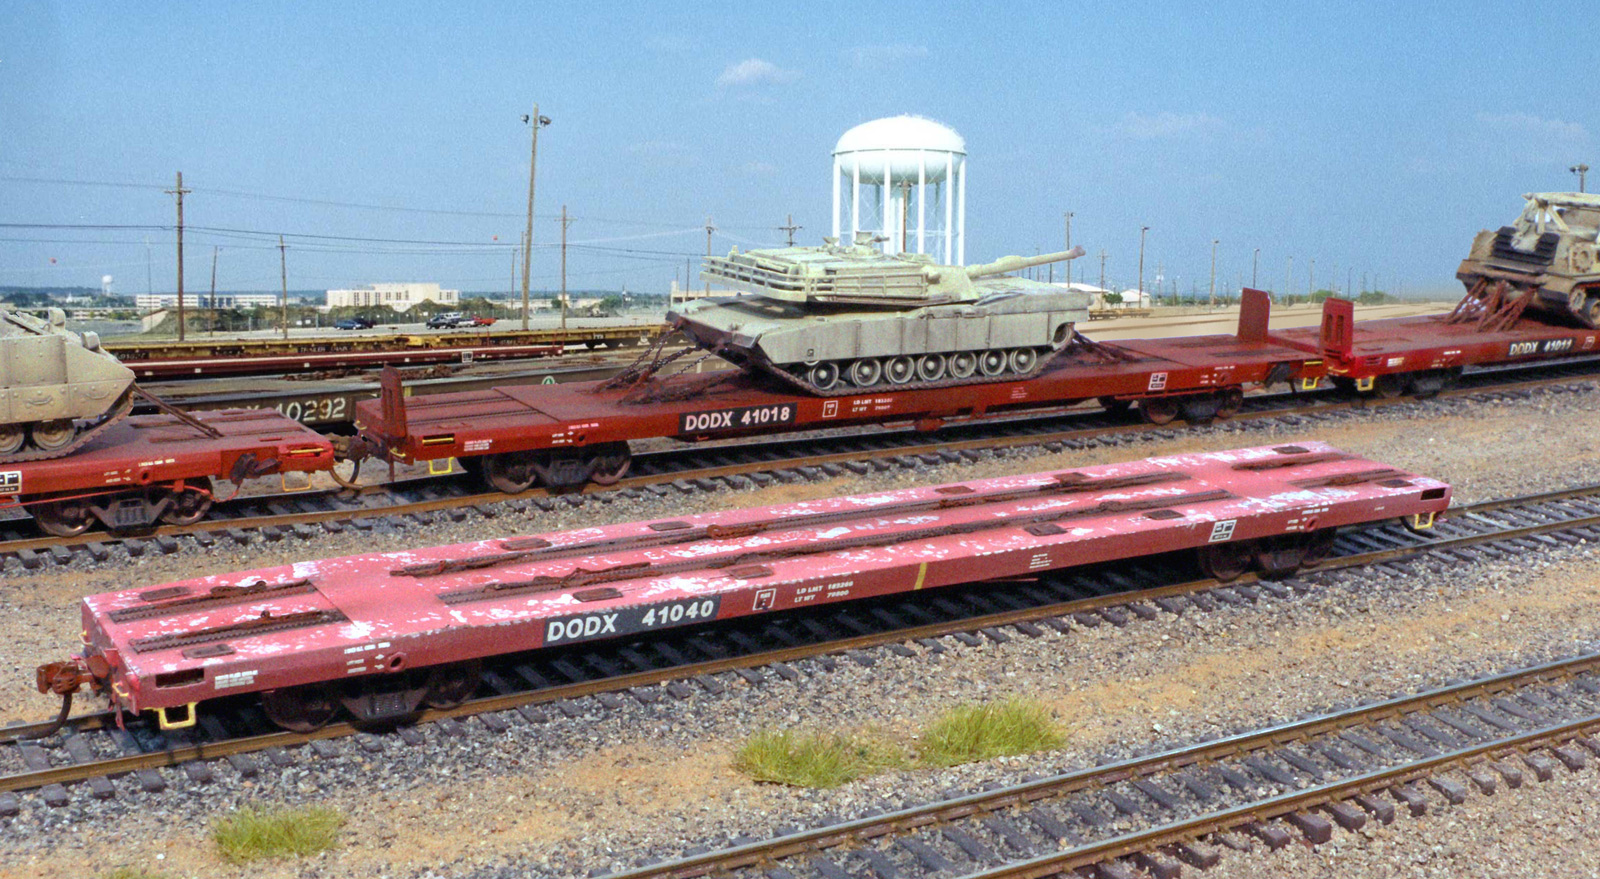
I also built another DODX 41000 flat car using some of the left over pilot model etchings, no sense wasting them. I tried weathering this car to match a photo of the same car from RRPicture.net
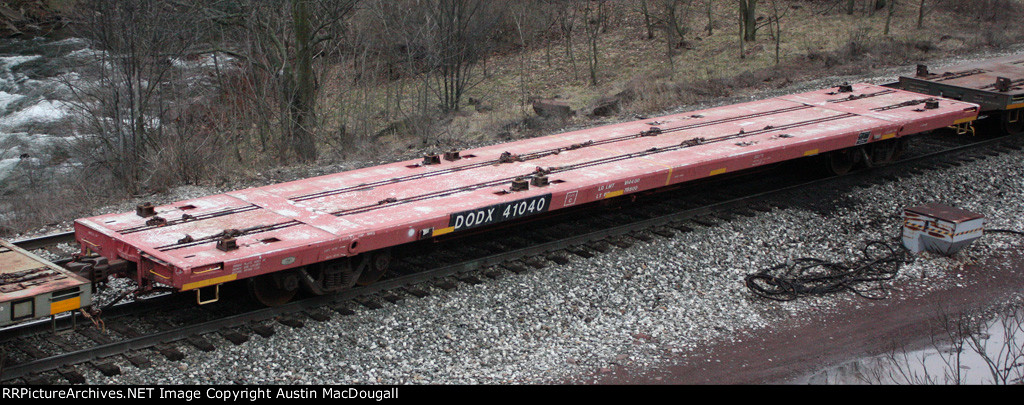
I used the sea salt technique to simulate the peeling paint on the deck. If you are unfamiliar with the sea salt technique there are dozens of youtube videos that describe it, such as this. In a nut shell you sprinkle salt on the a moistened model where you wish to depict peeling paint or rust. Then you spray the final color on top of the salt. When the paint dries you wipe away the salt and you get a rough peeling effect. Some people use hairspray too as it washes off with water. Lots of techniques out there.
I added chains to the deck as they stay with the empty car. The paint is very faded on this car.
Some tips on applying Alkem Scale Models decals. We suggest you use Future Acrylic Floor polish as the gloss coat and the setting agent. When using Future, the decals are nearly "fool proof." First spray or brush paint a thin coat of Future to the area you wish to decal. Let that dry for 15-20 minutes.
Then cut the desired decal film close to the lettering, but you dont have to be too close. The less extra decal film the better, but don't make the decal too small to handle. The extra film will disappear later.
Then put a drop of Future where you wish the decal to go. Apply the decal with tweezers or a toothpick. Once it is set, blot with a lint free rag. The Future dries in about 10 minutes. After waiting an hour or so, apply dullcote to the finished model. There is no silvering and the decal edges disappear. It is almost magic!
Note on the DODX decals there is white lettering that gets applied over black decal backgrounds. Apply the black decal first as described above and let it dry for about 10 minutes before doing the next layer decal.
And what by chance might the sea salt technique be? It might be self explanatory but perhaps not. Excellent work as always.
ReplyDeleteGerard
Gerry, good question. Since others may not know about it, I added some text in the actual blog post to clarify.
DeleteIn doing ACW modeling, I don't get an opportunity to try some of these neat weathering effects on my mostly wood models. So this is a nice diversion.